
Global winds and local winds, to me, is one of those topics that is kind of dry. What about you? It doesn’t have to be when you use the WOW Factor!
When you think about it, wind drives the fall leaves rustling about, has guided ships in the ocean, and has shaped landscapes over the years. They also help us enjoy a day on the beach with the nice sea breeze.
In fact, students may be curious to learn more about the patterns that drive this force that they feel almost every day.
So, what do you say about bringing the WOW Factor?!
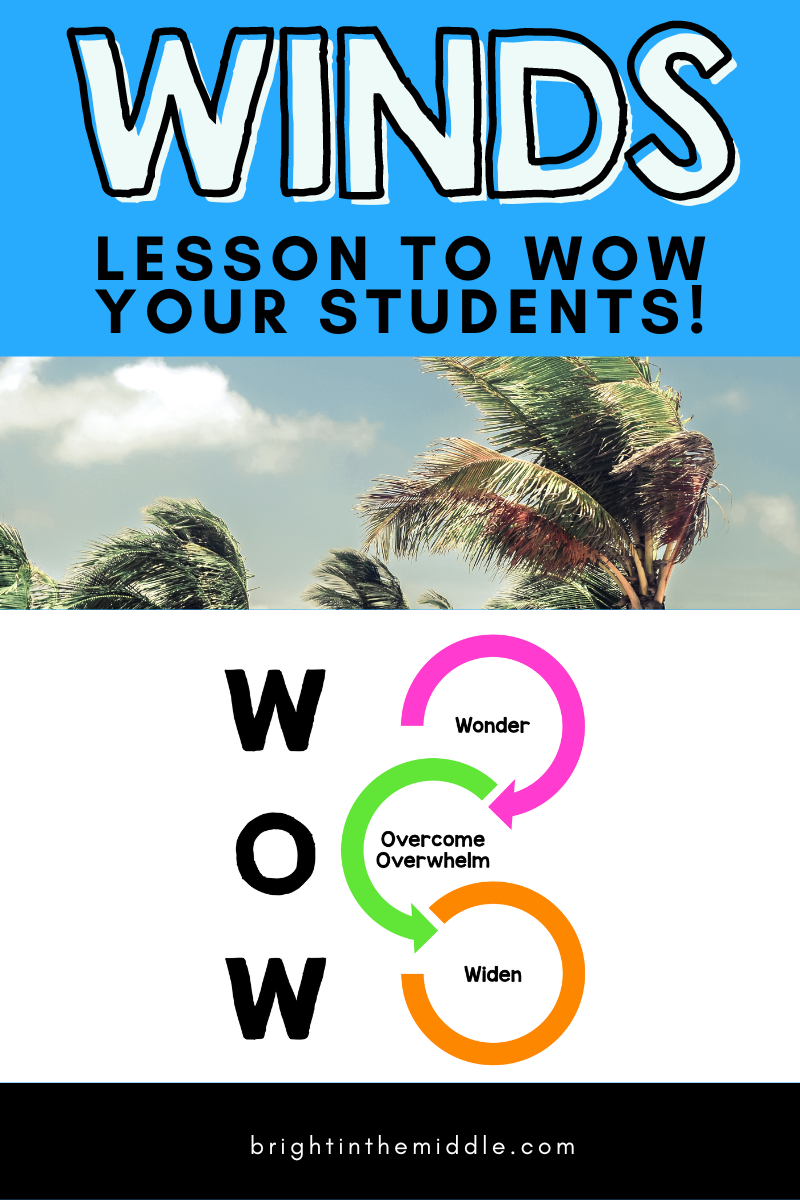
First, I will share different ways you can introduce this topic to your middle school science students using WONDER strategies. Second, I will share an interactive lesson that you can use to help your students gain an understanding of convection in the atmosphere. Finally, I will share different strategies you can use to help expand and WIDEN your students’ knowledge beyond what state standards require!
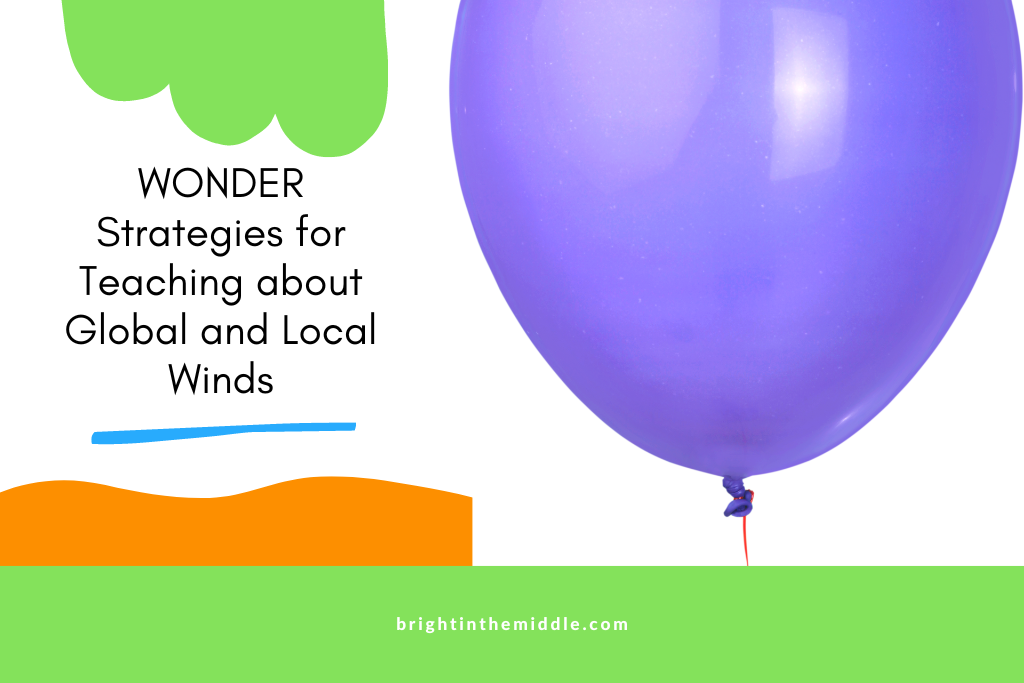
Local Winds and Global Winds WONDER Strategies
As mentioned above, if you just dive into the lesson, it can be a little dry. Using WONDER strategies will help students become curious about the topic and actually want to learn more. Getting your students to become internally motivated to learn is the goal! Here are some ideas on how you can make that happen!
Wind Statements – True or False
You can play a game with your students where you give them different statements about wind, and then they have to determine if they think that the statements are true or false.
You can do this in two different ways.
- First you can have all of your students sit down at their desks. As you read off each statement, if they think it’s true, they can stand up. If they think it’s false, they can remain in their seats.
- Another thing that you could do but may take more time and can be more effective, is to print a set of statements and have students sort them into true and false categories. You can have your students do this in groups. After students have sorted them, you can discuss a few before you dive into the lesson. Of course, you don’t want to give TOO much information away. You want students to be excited about learning the answers!
Some examples of statements you can use for this activity include:
- Local winds are primarily influenced by differences in temperature. (True)
- Trade winds are global wind patterns that blow from east to west near the equator. (True)
- Wind is caused by the Earth’s movement around the Sun. (False)
- Wind can only blow in one direction at a time in a certain location. (False)
It’s like your own game of global winds and local winds Myth Busters!
Coriolis Effect Balloon Demonstration
Another simple activity to get your students thinking about winds is the popular Coriolis effect balloon demonstration.
You’ll need:
- a balloon that is blown up
- a marker (like a Sharpie)
- a volunteer! (or two)
- Draw an “equator” on the balloon in the middle.
- Label the North and South Pole with an N and an S.
- Either you or a student volunteer can spin the balloon to represent the rotation of the Earth.
- As the balloon is spinning, either you or another student volunteer can draw a “straight line” from the North Pole towards the equator.
- Then, draw a “straight line” from the South Pole towards the equator.
- Next, draw a “straight line” from the equator towards the North Pole.
- Finally, draw a “straight line” from the equator towards the South Pole.
I say “straight line” because the lines will actually curve because the balloon is spinning like the Earth. This represents the ways that winds curve because of the rotation of the earth, the Coriolis Effect. Students will be able to see how global wind patterns occur!
This video is a great representation of the activity!
Convection Experiment
Another demonstration that you can do to help your students WONDER is a convection experiment. This circulation of air drives these weather patterns they are about to learn about. Why not let them visually see it!
You’ll need:
- a clear container halfway filled with cold water
- cup of hot water
- red food coloring
- blue food coloring
- droppers
- cups or something to prop the container up higher
- Prop the clear container of water onto the cups so that it is lifted higher.
- Place a drop of red food coloring in the middle of the container. (at the bottom)
- Place a drop of blue food coloring on both sides of the container. (at the bottom)
- Place the cup of hot water under the red portion of the container. Students will see the red water start to rise! The blue water will start to replace the red.
This video is a great representation of this activity!
You can do this as a class demonstration, but you can also have students do this in groups if you have enough materials!
Global Winds and Local Winds Interactive Lesson
Interactive lessons are, of course, my favorite! They are designed to help reduce student cognitive load so they can store the science content in their long-term memory. How? They use the 7 steps to help students retain content!
They specifically segment content with embedded activities so that students can pause, think about what they just learned, and quickly apply that information before moving on.
What is the difference between global and local winds? How are global and local winds similar? How are global winds and local winds different?
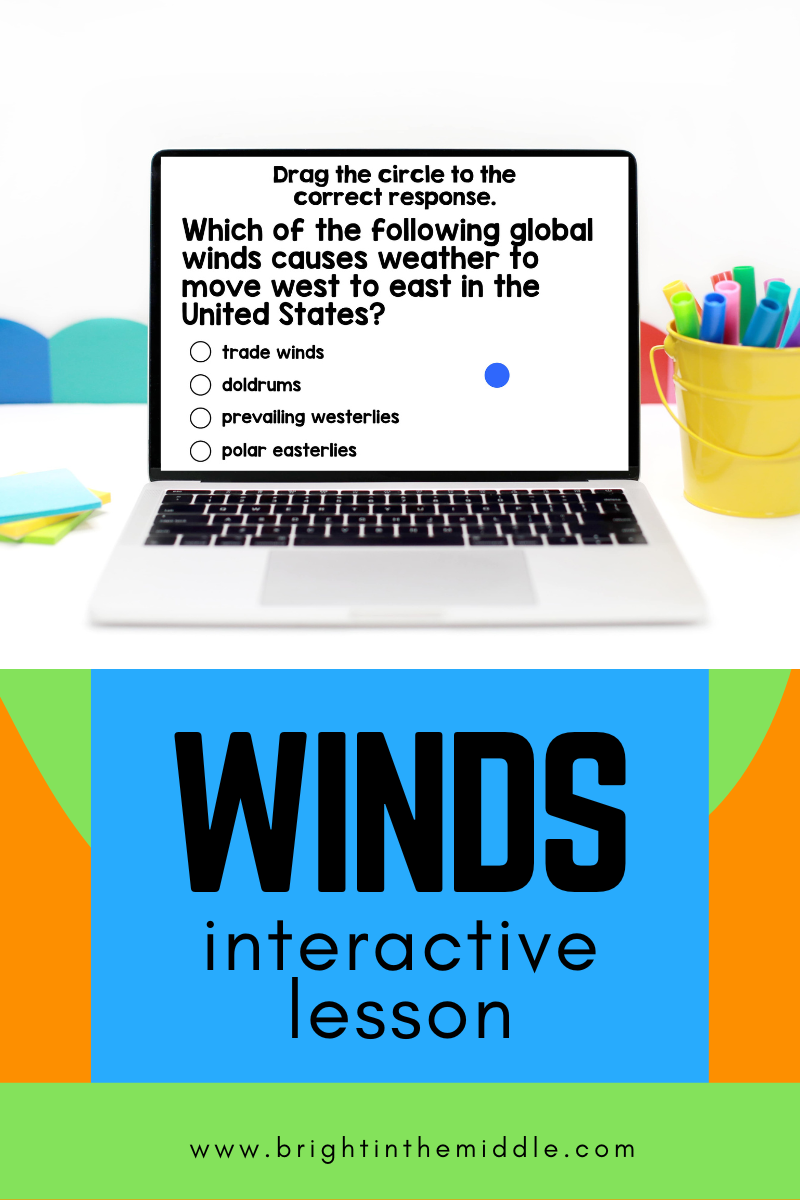
In this convection in the atmosphere lesson, students will learn what causes convection in the atmosphere, global winds and local winds, high and low pressure, the Coriolis effect, jet streams, and so much more!
The embedded activities that students will participate in include answering critical questions in a text box, drag-and-drop activities, an anticipation guide for pre-assessment, and more!
What are people saying about this lesson?
“I needed to find self-directed learning opportunities for my students, and this was a great in-depth resource that allowed them to review new information and display what they learned on their own. I assigned it through Canvas.” – TPT Reviewer
“I’m obsessed with these Google Slides for digital reviews in my classroom. They’re easy for the students to understand what to do. Directions are clear. The students enjoy them. A good quality review!” – TPT Reviewer
“These were fantastic to use !! They really helped my students understand this concept! Thanks!” – TPT Reviewer
You can find this in the Bright in the Middle Shop.
You can also find this on TPT.
After this lesson, students will have learned a lot a be able to compare and contrast global winds and local winds. Skip the global and local winds worksheet and try it out!
Global Winds and Local Winds WIDEN Activities
If time allows, it’s always great to widen student knowledge. Check out these global winds and local winds activities to try!
Sea Breeze and Land Breeze Cut-and-Glue
Are you just looking for something quick and easy for your students to do to widen and test their knowledge. Try this sea breeze and land breeze activity!
In this activity, students can show off what they just learned about local winds in a fun way! They will have to think through low pressure and high pressure, how water and land heat a cool throughout the day, how warm air rises and cold air sinks, and more.
Students will be tasked to cut out phrases, letters, and arrows in order to model land breezes and sea breezes.
What are people saying about this activity?
“This was perfect! This helped my students learn the difference between land and sea breezes and now they’re pros! (: Thank you so much!” – TPT Reviewer
“Students loved it. I printed 2 pages on one sheet, fit perfectly in their composition books.” – TPT Reviewer
“Loved everything about this! Thank you!” – TPT Reviewer
You can find this resource in the Bright in the Middle Shop.
You can also find this on TPT.
STEM Activity – Create a Weather Vane and Explore
Have more time to dive deeper into global winds and local winds? You can try this STEM exploration activity
1) Create the Weather Vane.
You’ll have to task students to create a weather vane using various materials.You can provide:
- Cardboard
- Paper plates
- Pencils or wood rods
- Glue
- Tape
- and anything else you see fit!
You’ll also need a compass so that students know which way is which when they set up outside!
By the end, your students should have a weather instrument that will show the direction that the wind is blowing.
2) Explore Wind Direction
Now that your students have the weather vane, it’s time for them to explore wind direction. Have students set up their weather vanes outside. If you don’t want all of them outside, pick a class representative project that the class can collect data from.
Throughout the next week, record the direction of the wind at several different times in the day.
After the data is collected, have students assess the data.
- They should look at the variability of the wind. They may notice that it may not always come from the same direction. There are different factors that impact it.
- They may look at the local influences of the wind. Are there bodies of water, mountains, valleys, etc.?
- They may even look at local weather maps. They may see areas of high pressure or areas of low pressure. Have them compare their data with these maps!
Global Winds and Local Winds Podcast
Another fun exploration activity you can have your students do is to create their own podcast episode explaining global wind and local wind phenomena.
- Put your students into groups and assign them a specific global wind or local wind.
- Have students to research the wind, its origins, their roles, and real-life applications of this wind.
- Have them put this information in podcast form and record!
After, as a class, you can discuss the difference between global and local winds and their impact.
Help your students master science content!

I purchased the sea breeze and land breeze activity but am unable to open it. I keep getting a corruption error.
Hi Kimberly,
I just redownloaded the file just in case! You can check it again. Feel free to email me at kayla@brightinthemiddle.com so we can make sure we get you the file successfully!
Thanks,
Kayla