Ready to have the phases of the Moon explained to your students?The phases of the Moon and just space in general have always fascinated me. I remember, as a child, and still now, I loved to go outside at night and just stare. How small are we? It’s so amazing that we are just a little speck in the universe but are so special!
It’s awesome to be aware of what we know about the phases of the Moon and how cool it is, but can you imagine what it was like back in the day when they didn’t have a clue what was happening?
Well, luckily, we are in the crowd that does understand, and now we can share that knowledge with our students in ways that they can understand too!
In this post, I want to share a sort of lesson plan to WOW your students about the phases of the Moon!

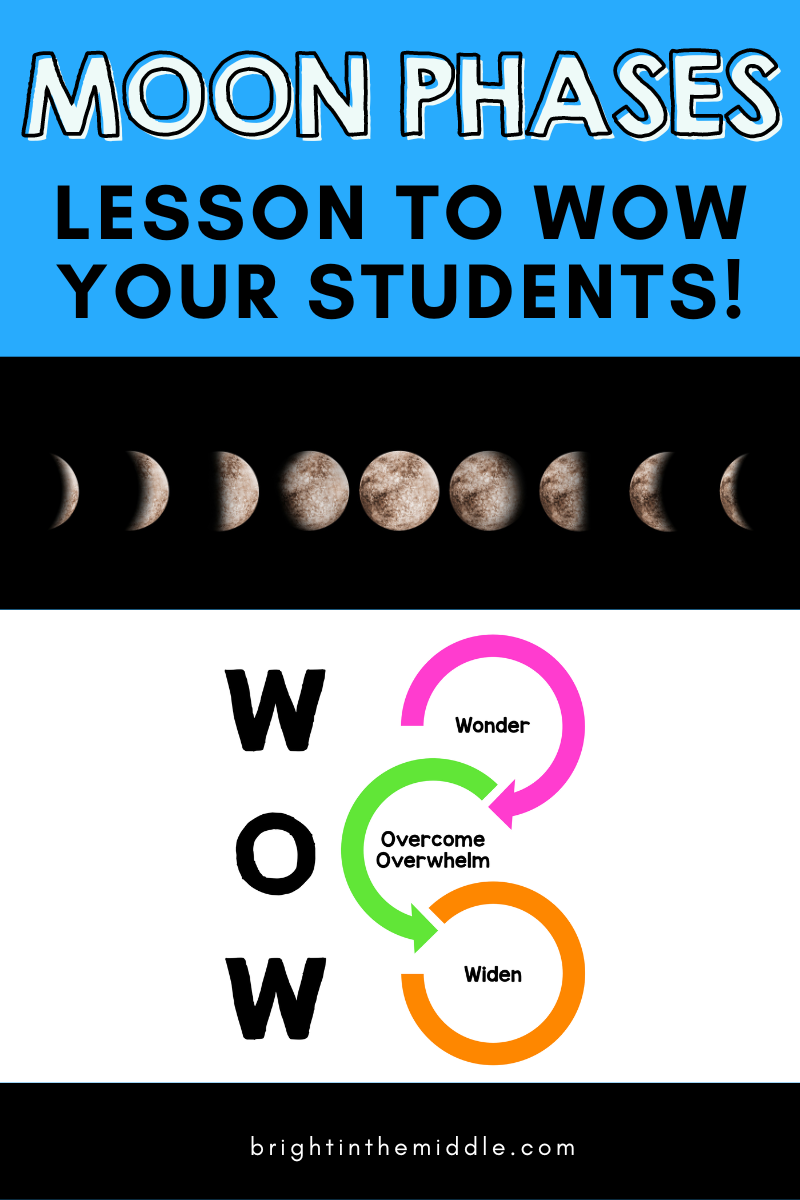
Get Students WONDERING about the Moon’s Phasing Cycle
It’s important, before diving into the content, to get students excited about learning the phases of the Moon. There will be some students, like me, who are fascinated with all things space, but then there are some students that will not be that interested.
I have two ideas for you in this post that will get students engaged and wondering what in the world is going on in that sky to make the Moon look so different each night!
Phases of the Moon Demonstration
In this demonstration, you can get students up and moving, accepting volunteers to be the Moon. Here is a great video from the National Science Teaching Association that shows what you can do! By doing this, you will dive into a little bit of the phases of the Moon meaning. It’s kind of like a little phases of the Moon experiment!
You will need:
- a lamp with the shade removed
- a white Styrofoam ball
- a pencil (attached to Styrofoam ball)
- a dark room
- a volunteer to be “the Moon” (You can have several students to volunteer, one at a time.)
The lamp represents the Sun. The white ball represent the Moon. The person that volunteers will represent the Earth.
- You will need to turn on the lamp and set it on a table or a desk. The light will need to be around the height of the volunteer student. It can be a little higher.
- The student will need to hold the “Moon” out and have it to orbit the “Earth”.
- As the student does this demonstration. They can see the light on the “Moon” changing. They can explain what is happening to their classmates.
- Repeat as many times as needed.
You can also just watch this video with your students and have a discussion. This video is included in the interactive lesson discussed below.

Data Observation
If you don’t have to time to do a full blown demonstration. You can give students a chance to make observations on the Time and Date Website. You or the students can enter in your location at the top right hand corner of the website. Make sure that Moon Phases is selected.
Have students check out the current Moon phase and just take a look at what they see and notice. Ask some observation questions. You can have students write down their thoughts, talk with a partner, or just have a class discussion.
- What do you notice?
- What do you find most interesting?
- Do you see any patterns?
- Why do you think the Moon appearance changes?
- Are there any special Moon events coming up?
- How often does the Moon phases change?
- What question do you have?
Once you have intrigued your students interest in this topic, it’s now time to dive in!
The Moon’s Phases Explained – OVERCOMING OVERWHELM
For those that have followed me for a while know that I have an interest in reducing student cognitive load, keeping them engaged, helping students to love science, and helping them to retain science content in their long-term memory.
Learning about this topic is no exception. Students have the phases of the Moon explained using an interactive lesson. Whether you want your students to take notes while you give direct instruction, work independently to complete the digital interactive lesson, or work with a partner, this is a great way to keep students engaged while reducing the load given to their working memory.
This lesson is broken down into chunks so that students can digest the information and then apply it before moving on. They have to stop and think about what they just learned before learning something else!
This particular interactive lesson is one of my favorites.
Students will learn the phases of the Moon, the phases of the Moon meaning and cause, and each of the Moon phases explained.
Here some highlights that are included!
- Anticipation Guide
- Drag-and-Drop Phases Diagram
- Moon Phases Chart
- Exploring Outside Resources
- and so much more!!
For more details, you can check it out here. It can also be found in my TPT store.
Phases of the Moon Explained by STUDENTS – WIDENING their Knowledge
How do the phases of the Moon work? At this point, students have become excited and curious about the phases of the Moon and have learned some more details about the reason behind these phases and what those phases are. Now, it’s their time to shine and widen their knowledge about the content. Here are two ideas that your students can do in the classroom or as an at-home project.
Moon Phases Children’s Book
What better way to show your understanding of a subject than to teach in a way that is understandable to your audience.
This is a fun way to get students to apply their knowledge of the Earth-Sun-Moon system and how it impacts the way we see our Moon each night from Earth.
Students can create their own children’s book explaining the phases of the Moon to younger children. They can give a phases of the Moon simple explanation and explain how the phases of the Moon occur.
Here is some inspiration!
Give them some guidelines, and let their creativity shine! Here are some example guidelines:
- have title/cover page (Don’t forget to label the author and illustrator!)
- have an illustration on each page
- describe science accurately
- 10 minimum pages
- show creativity
- correct spelling and grammar
How will they make the book? Once again, let their creativity shine. They can staple papers together, create a digital book, recycle a coloring book, and so much more!
Phases of the Moon Explanation Model
This is an opportunity for students to apply what they have learned about the phases of the Moon by creating a model. Give them some guidelines such as:
- The model must include all 8 phases of the Moon.
- There should be a Sun and an Earth included in the model.
Then, just provide them some materials such as:
- Oreos
- paper
- paper plates
- foam balls
- foam board
- cardboard
- cardstock
- flashlights
- toothpicks
Let them create their own model. This is a great form of inquiry.
If you plan this enough in advance, the school can purchase the materials for you, or it can be a great Donor’s Choose project.
I hope you have enjoyed these ideas on how to WOW your students when learning about the Moon phases. I’d love to hear what’s going on it your classroom. Do you do something different? Share your ideas in the comments below!
By the end, they will have the phases of the Moon explained to you!
Help your students master science content!


[…] Phases of the Moon […]