

Before diving deep down into chemistry topics, it’s important for students to learn to explain the difference between physical and chemical properties. They need to learn all about the properties of matter! After learning about the classification of matter and the periodic table, they will be able to explore these elements, compounds, and mixtures a little bit further to talk about more of the properties.
Each substance has its own special physical and chemical properties that they can be identified by. So, what’s the main difference between physical and chemical properties? Physical properties are characteristics of matter that can be observed without changing the make-up. Chemical properties are characteristics of matter relating to how it chemically behaves.
In this post, I want to give you some ideas so that you can bring the WOW Factor when teaching these concepts to your students. First, I will share some ideas to help your students WONDER and become excited to learn more about this topic. Second, I will share a lesson with you that is designed to OVERCOME the OVERWHELM of the information. Last, but not least, I will share some ideas to help your students widen their knowledge on this topic so that they will really be able the explain the difference between physical and chemical properties.
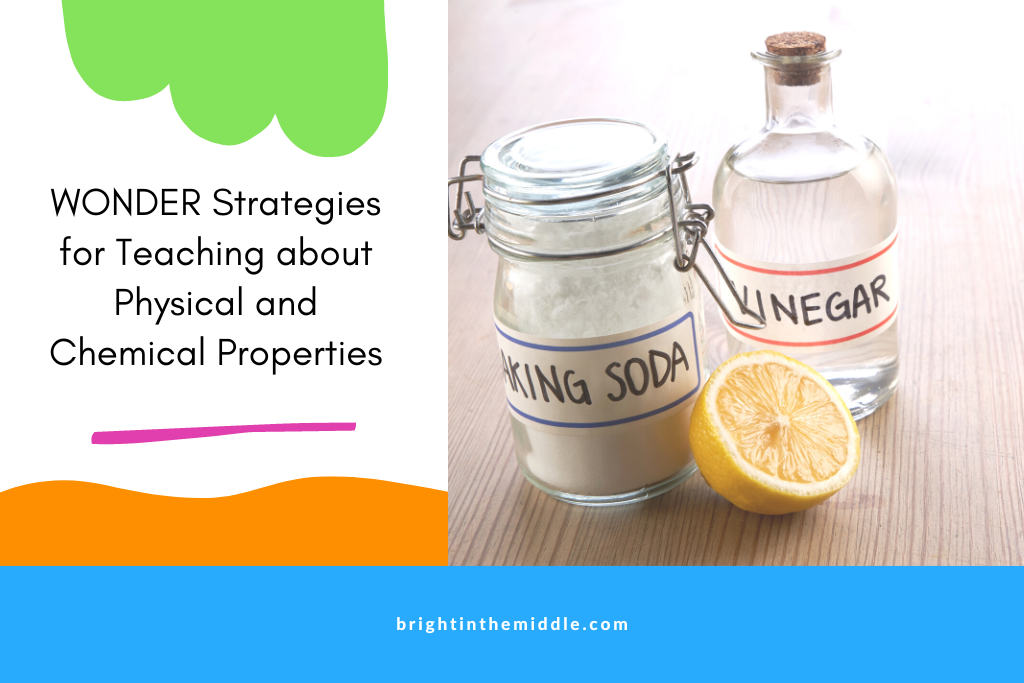
Physical and Chemical Properties WONDER Strategies
I will be honest. Chemistry topics…they are not my favorite. However, it is totally growing on me. Why? Well, when I bring wonder strategies to the classroom, not only do I work on getting students excited about learning more about the topic, but they actually work on me too!
Here are two ideas of strategies to try with your students to get them intrinsically motived to learn more about physical and chemical properties.
Properties Card Sort
One of the things that you can do before diving into this content, or really any content, is to have your students work in groups to organize information. This really activates their prior knowledge, and after, they will be wondering if they were right! But, here’s the secret…don’t tell them until they dive into the lesson.
So, what can you do here?
1. Create cards with the following vocabulary words:
- color, density, mass, weight, solubility, volume, boiling point, melting point, freezing point, viscosity, conductivity, compressibility, magnetism, malleability, luster, taste, hardness, state of matter, ductility
- reactivity, flammability, combustibility, ability to oxidize, ability to tarnish, pH, radioactivity, toxicity
The first bullet includes terms that are physical properties. The second bullet includes terms that are chemical properties.
2. Mix all of the cards up and put them in an envelope. This works best when students work in groups. You’ll need as many envelopes of cards as you have groups.
3. In each group, have students read each card and tell them to sort them any way that they wish.
4. After each group is finished, have each group share out how they sorted their cards.
Then, you can dive into the content! They will probably be curious to what is “right”. There is no right or wrong answer; however, you can begin to tell them why these terms are sorted into physical properties and chemical properties.
What Do You Notice? Activity
This is a fun activity where you can bring in some props.
Here are some examples of things that you can bring in:
- aluminum foil
- baking soda
- salt
- nails
- Alka-Seltzer tablets
- paper
- a penny
- battery
- hot chocolate
- ice
- water
I can go on and on, but theses are just a few examples. You can choose to set these items in stations around the room, or just hold them up and discuss them as a class.
So, what’s the activity? Just allow students to look at these items and see what they observe. For example, they may notice that the baking soda is white and powdery. They may notice that they nails are magnetic and may have rust on them. They may notice that the aluminum foil can bend easily.
See that they come up with! They will mostly notice the physical properties, because of course, those are things that we can discover with our senses. After, you can show some other properties, like the chemical properties, so they can learn more. For example, you can mix the baking soda with vinegar. Another example would be to mix the Alka-Seltzer tablet in water. You can also light a piece of paper on fire….very carefully. I’m still funny about fire in my middle school classroom, so you can always show a video!
After this, students will be more excited to learn more about the content!! Now, it’s time to jump into the lesson! What is the difference between physical and chemical properties? What are these properties?
Physical and Chemical Properties Interactive Lesson
One of my favorite ways to teach content is to use interactive lessons. These lessons are designed to make content easier to digest because they use the 7 steps to retain information in order to overcome overwhelm.
The content is broken into easy to understand chunks of information with embedded activities that allow students to process the information before moving on to learn more! These are great for students to do independently, in partners, in small groups, or as a whole class. In addition to making a great lesson, they are also great as a review tool.
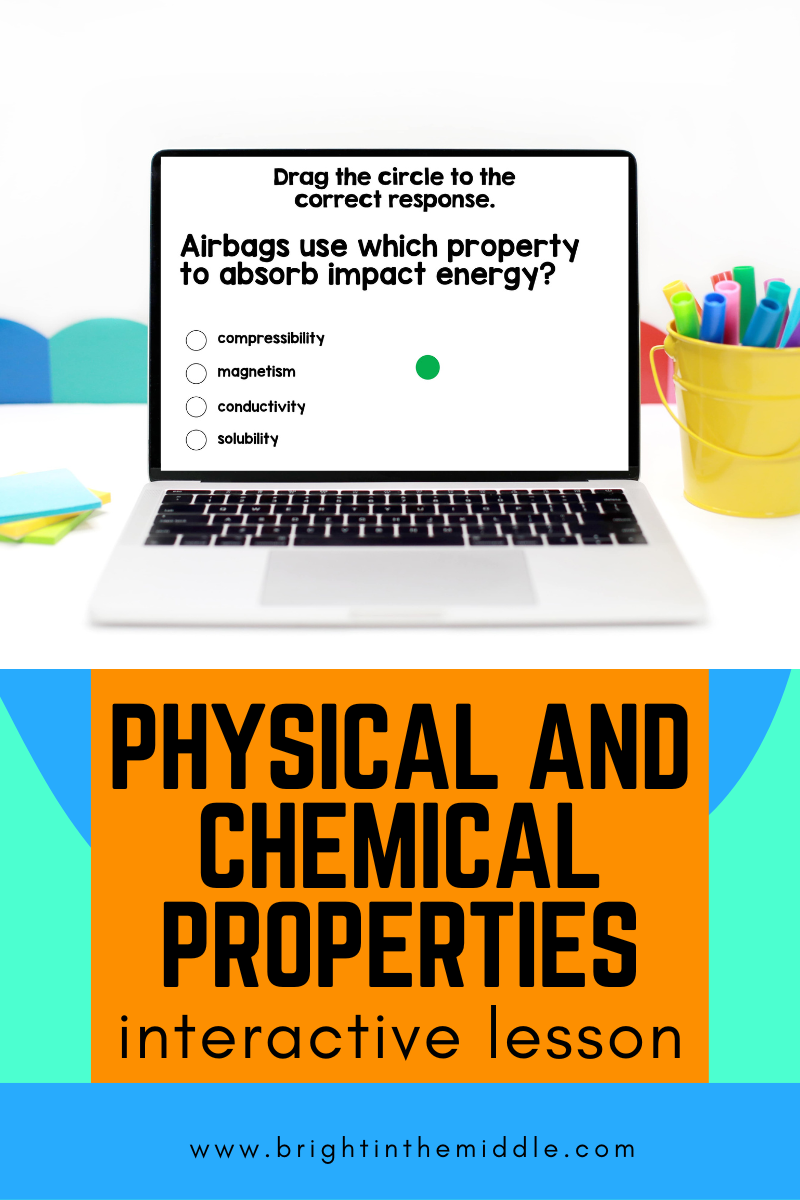
So, let’s help your students answer the question, “What’s the difference between physical and chemical properties?”. With this interactive lesson, students will learn about physical properties, examples of physical properties, extrinsic and intrinsic properties, chemical properties, examples of chemical properties, and so much more!
They will also do interactive activities while they are learning the material. These activities include exploring outside resources, drag-and-drop activities, answering questions in the text box, a KWL, and more!
You can learn more in the shop here.
You can also find this on TPT.
Physical and Chemical Properties WIDEN Activities
At this point, your students have learned a lot about this topic, but why not learn more? Here are two things that you can try in your science classroom that will help your students widen their knowledge on the properties of matter.
Jigsaw Deep Dive
This is a group activity. Have you ever done a jigsaw before? This is where you allow your students to become an expert on a topic and then share the information with the rest of the class. For this one, you can give group a set of physical and chemical properties that they can explore.
Here is an example of how you can implement them in your classroom.
Group 1: Conductivity and Reactivity
Group 2: Ductility and Flammability
Group 3: Viscosity and Combustibility
Group 4: Malleability and Radioactivity
Group 5: Luster and Ability to Tarnish
Group 6: Density and Ability to Oxidize
Each group should research the following questions about their properties.
- Definition – They should be able to define what these terms mean.
- Examples – They should give at least 2 examples of these properties.
- Model – They should be able to create a model to represent these properties. It can be as simple as a drawing.
After students have learned about their topic, they can share it with the class.
Dive in to Physical and Chemical Changes
So, maybe you don’t have time to widen knowledge on these properties, per se, but you do want to work on extending their knowledge. Well, you can go ahead and dive into physical and chemical changes.
By doing this, you are already extending their knowledge on the properties. What better way to explore the properties of matter than to actually learn about how they can change!
Is it Christmas time? You could also explore making poinsettia pH paper!
Help your students master science content!

[…] Physical and Chemical Properties […]