

Do you teach simple machines? They can be so much fun to discuss and explore. They are awesome to create simple tasks for Rube Goldberg machines in the classroom as well (more on that later). It’s always fun to talk to my students about what a machine is, and when you mention things such as scissors and hammers, they just look at you like your funny! Even when I mention that a bicycle is a machine, I get those crazy looks, but the truth is, anything that makes work easier is considered a machine, including scissors!
So, I’d love to share some ideas with you on how you can teach this topic to your middle school students, including how to have your students to apply their knowledge to create a simple Rube Goldberg machine to pop a balloon.
First, Hook Them In!
Now, more than ever, you have to show kids how cool this content is. In middle school, learning isn’t as cool as it used to be, and they are so worried about what the kid across the room is thinking about them that they are too distracted to learn, so you have to BRING THEM IN!
What you could do is bring a bunch of items into class and play a game of called… machine or not! The point of this game will be, number 1, to get them excited about the content, and number 2, make them realize how there are machines everywhere.
So, here are some examples of some items that you can bring in:
- hammer
- doorstop
- pizza cutter
- scissors
- nail clippers
- fork
- calculator
- can opener
- light bulb
- stapler
- rolling pin
If you are unable to bring these items in, you could always create a few slides with pictures of these items, and more, on them and still play the game.
Students will soon realize that machines are everywhere! Then, you are able to get into a discussion of what a simple machine is, what a compound machine is, how they are different.
Now, Let’s Teach About Simple Machines!
Now, it’s time to get into the meat of the lessons, one of my favorite things to use the simple machines digital interactive lesson. This lesson can be used as direct instruction. Students could work on this independently or in pairs. There are SO many options!
How do digital interactive lessons work? They are lessons packed with introductory content that allows for the reduction of cognitive load because the lesson is broken into chunks. This allow students to take in one piece of content at a time and reduce the overwhelm.
After each chunk of information, students are to answer some type of question or participate in an activity to apply that information.
So, what?! It makes learning so much easier on the student and it’s engaging!
In this particular lesson, there is SO much to cover! Students will learn about work, SI units for work, force, and distance, simple and compound machines, all 6 simple machines, 3 classes of levers, mechanical advantage, and more!
Students LOVE these, and they make the teacher’s life easier as well!
After the lesson it’s time to talk about these 6 simple machines Rube Goldberg style.
Simple Machines Rube Goldberg Ideas
Now that the students know about simple machines and have had lots of practice, it’s time to put the knowledge to work!
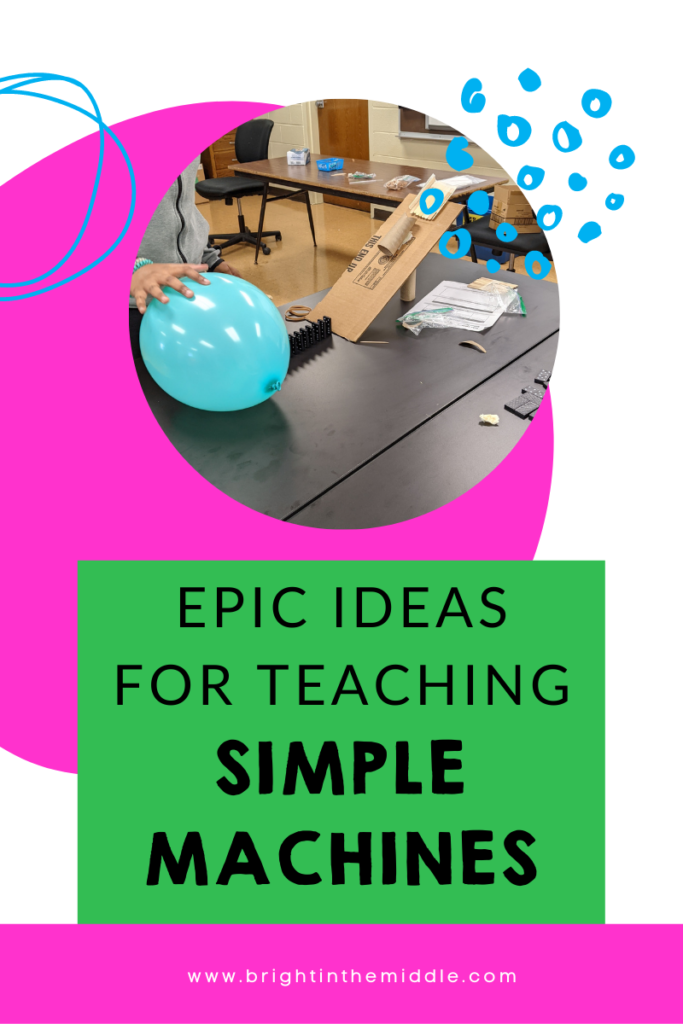
So, now, it’s time for students to create a Rube Goldberg machine of their own! Here’s an idea how to implement it. The parameters are up to you, but you can have them to create a series of “events” that lead to an end goal. For example, you can request that they create simple Rube Goldberg machines with six steps (simple machines in action) in order to pop a balloon.
- First, in the days ahead, gather some materials for the students. You can use paper towel rolls, toy cars, toothpicks, paper clips, dominoes, tubing, PVC pipes, balloons, cardboard, marbles, ping pong balls, tennis balls, popsicle sticks, etc. Grab whatever you’d like!
- Show students videos of these in action to get their brains prepared to give them some simple Rube Goldberg machine ideas for school.
- Easy Examples
- Put students into teams and let them choose their roles. They can be a materials manager, captain, recorder, etc. Choose what’s best for your classroom.
- After students have chosen their individual roles, students can begin to draw a blueprint of what they would like their machine to look like.
- After they finish their blueprint of these simple rube Goldberg machine drawings, they can begin to work! This does take some time to complete as students go through the engineering design process. Depending how long your classes are, you should set aside at least 3-4 hours to complete!
- For the final product, have students turn in a video of their last attempt to pop a balloon, or whatever their end task was. I’ve had several students in the past that were unable to reach the end goal, but that’s ok! They just turned in their attempt. Failure is never a bad thing. It’s all a learning experience.
- Finally, after students submit their video of their final attempt. Students can reflect on their design. Did it work? Would they change something?
Have fun with it! Make it a competition among groups. It’s easy to grab some judges in the school or even the community to choose the best design. The winning group can get a prize or just bragging rights!
After the lesson and activity is complete, you can review, assess, and move on (Well, flow into the next lesson. It’s all connected.)! I hope your students have fun with these easy Rube Goldberg simple machines.
More Resources for Simple Machines for Rube Goldberg
Here are some more resources to help make this a success!
Build a Homemade Rube Goldberg Machine
Help your students master science content!

[…] Simple Machines […]