
There are so many fun lessons and activities that you can use for teaching Punnett Squares! I honestly would set aside 4-5 days (or more) to teach this topic to middle school students because there are some aspects that can be confusing.
Some common things that students struggle with when learning about Punnett squares is not knowing where to place the genotypes on the diagram, not knowing how to “drag” the letters in the correct boxes, and understanding what the percentages mean.
I’ve listed five tools that teachers can use to teach this topic, whether it be just one tool or all tools. These tools can help ALL students understand not only HOW to complete Punnett squares but to determine the meaning of the results.
They can help you bring the WOW Factor to your science classroom!
Bring the WONDER before Teaching Punnett Squares!
WONDER activities are those that help your students become internally motivated to learn! It’s all a part of the WOW Factor!
First things first. If you haven’t taught about Gregor Mendel and his pea plants, go ahead and do that! If you have, you can try this next WONDER activity!
Punnett Square Dance Party
Before you get into teaching Punnett squares, you can help them remember (and be excited about) some of the steps you take when completing a Punnett square.
You have to slide the letters from the side, and drop the letters from the top.
Now, just cut on some music, and create some dance moves to help them prepare for this part of Punnett squares creation!
Punnett Squares Interactive Lesson
I usually do a little bit of instruction myself before allowing students to move on their own; however, I think it’s extremely important for students to learn many things on their own, and definitely to practice on their own. This particular interactive lesson includes all of the “pre-requisite” vocabulary words that are great to review as well as practice with using Punnett Squares.
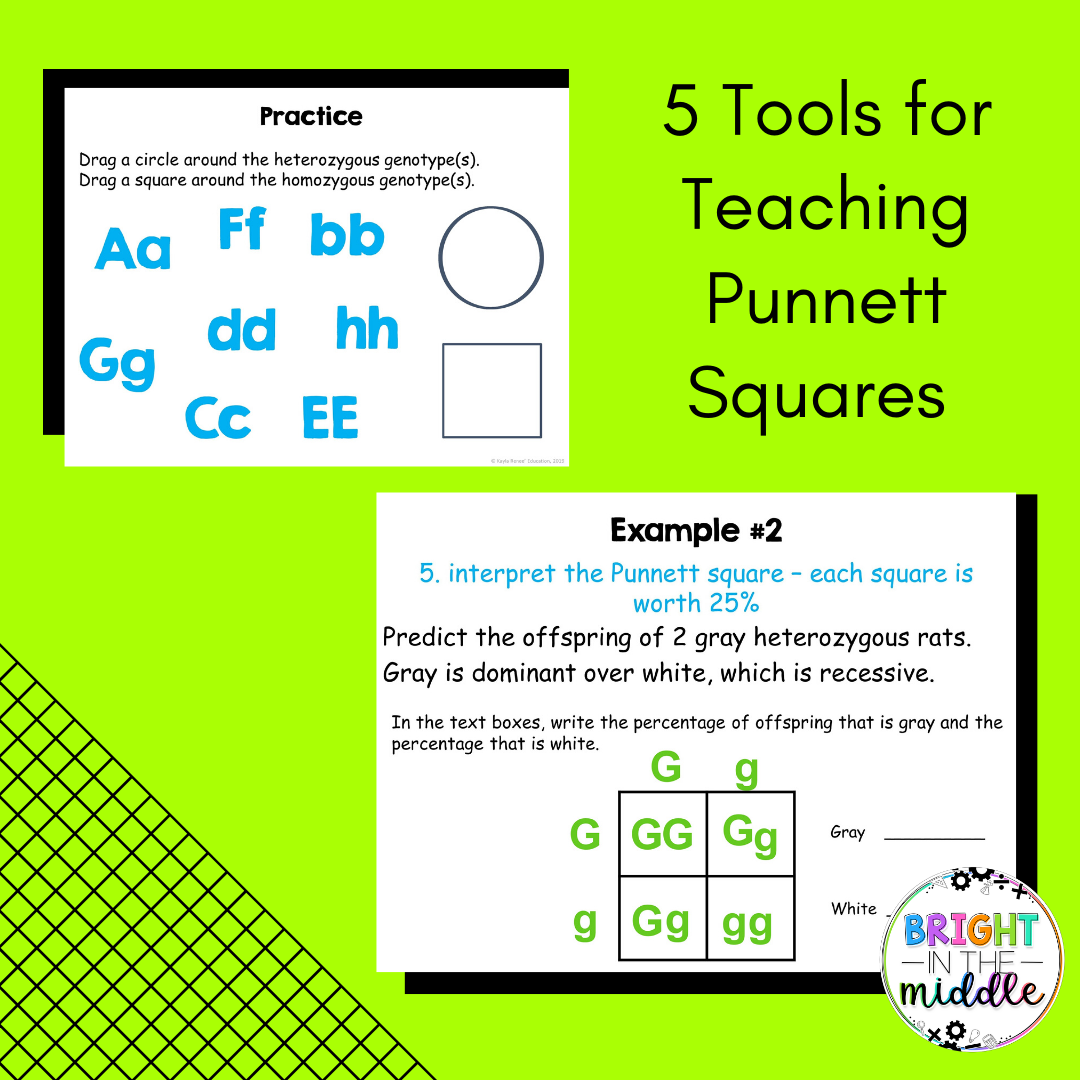
This is an interactive lesson and practice where students are able to type their answers to questions in a text box, drag and drop, match vocabulary using lines, and more! Technology is taking over in the classroom, so this is an activity that students would appreciate.
What are other teachers saying about this lesson?
⭐⭐⭐⭐⭐ “Awesome, engaging activity!” – TPT Reviewer
⭐⭐⭐⭐⭐ “My students loved using this. It was a great resource!” – TPT Reviewer
⭐⭐⭐⭐⭐ “Very nice! Lots of examples and step by step instructions.” – TPT Reviewer
⭐⭐⭐⭐⭐ “This was a great resource for my students in class and distance learning. At first, I only assigned it to my remote students and did another activity with my in person students. I THEN used this for my in person students because they got more out of it. Also, my students who are struggling readers did much better with this assignment. Thank you!” – TPT Reviewer
Punnett Squares Activities to WIDEN Knowledge
Once students learn about Punnett squares, it’s time to practice, practice, and practice! Here are some ideas to WIDEN student knowledge on this topic.
Practice on Mini-Whiteboards
Need more practice and a quick formative assessment? Grab some of those mini-whiteboards! Many schools have them in stock; however, if your school does not have any, there are many ways to obtain them. I’ve heard that you can get them from Lowe’s, or somewhere similar, for really cheap. They’ll cut a large board into smaller boards for you. You could also go to Dollar Tree! I have bought a few from there before! I will say that the dry-erase marker that comes with it isn’t that great, but the board works! You could also put in a project on Donor’s Choose to obtain a class set for your class!
Once you have the boards, you can just come up with a few examples for your students to assess such as:
- P = purple lips and p = green lips
- Cross Pp x pp
- What is the probability the offspring will have green lips?
Do some think-pair-shares or make it a competition! Be creative and make the formative assessment fun!
Punnett Squares Task Cards
Task cards are a great way to review, and there are so many ways that you can use task cards!
These particular task cards review Punnett Squares AND other parts of the genetics unit, including Gregor Mendel and his peas and incomplete dominance. If these particular task cards do not work for your classroom, I’m sure there are others created or you can create some as well. Do what is best for YOUR classroom!
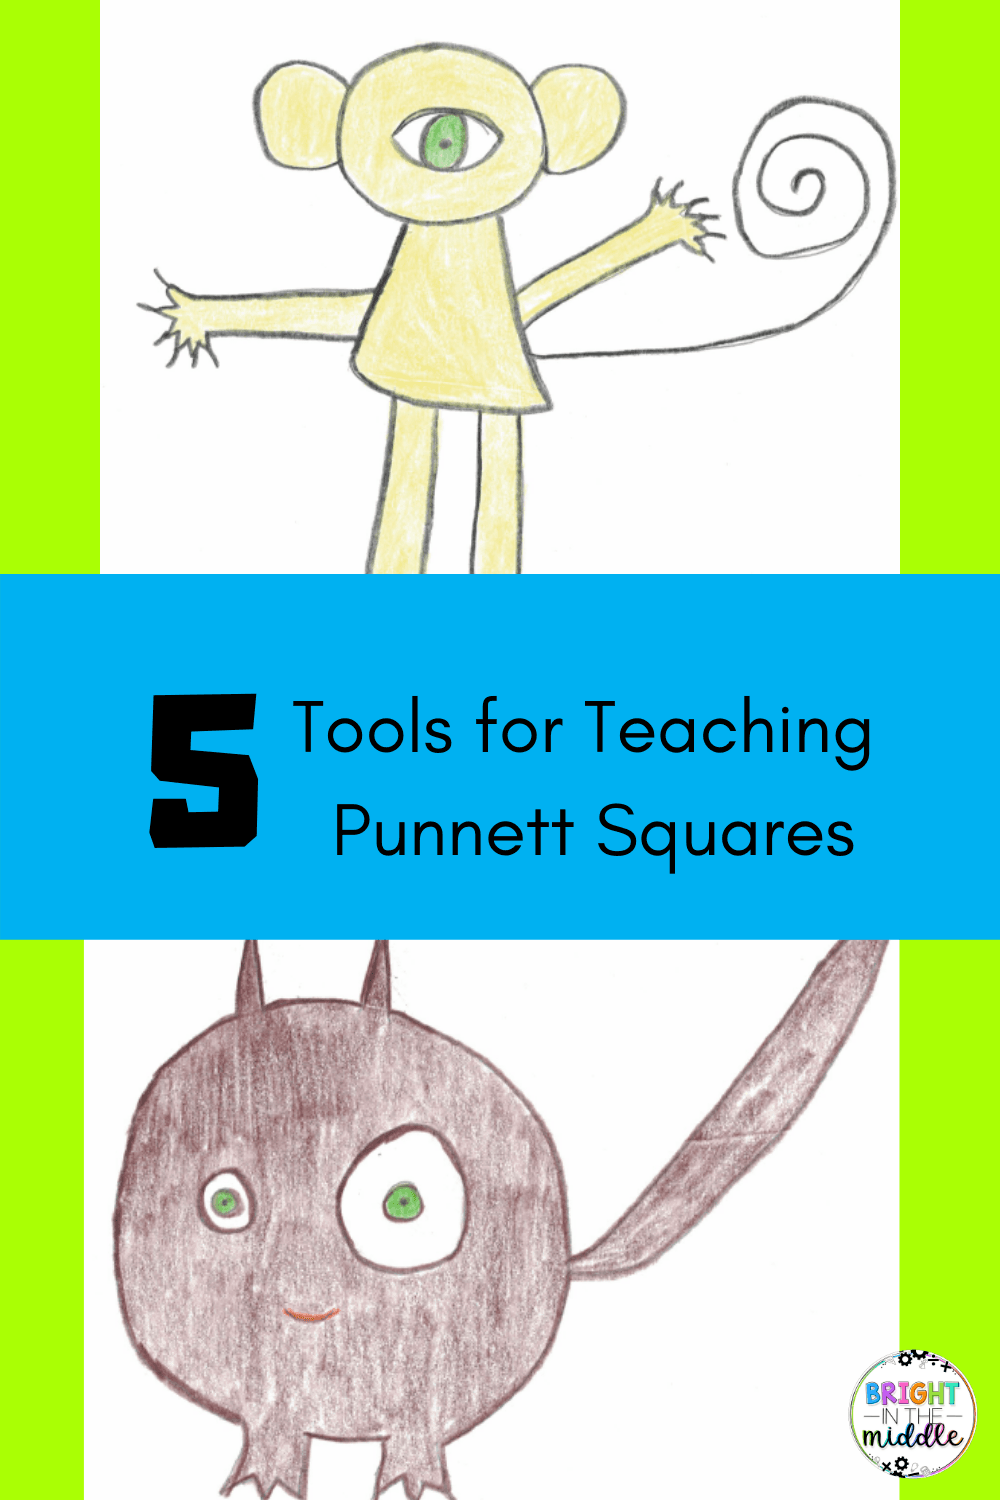
Punnett Squares Animal Project
This is one of my ALL TIME favorite projects for teaching Punnett squares in my classroom. It’s definitely a student favorite. In summary, students will create an animal/creature using certain genotypes that they discover using two coins. Students will then get with a partner to discover what both of their animal’s offspring will look like through Punnett squares! Students will then draw four offspring based off of those Punnett squares.
In order to determine the genotypes of their animals/creatures, they can use two coins, one for each parent. After students create their animal/creature, they will get with a partner. When with their partners, students will use each of their genotypes for each trait to create Punnett squares for each characteristic of their animal/creature.
Students will then use these Punnett squares to create four offspring with the traits shown in them. A draft is recommended before the final copy.
Students are SO creative. It’s amazing to see what they come up with. Also, the most amazing part is to see how well they understand Punnett Squares after this project. For my students, this project was the number one tool that I used that really helped them grasp the concept of why and how we can use Punnett squares and how to interpret them.
Teaching Punnett squares soon? I hope you find these ideas helpful!
99 Engaging Strategies for Middle School Science
Interested in more science ideas? Check out these 99 strategies that can be used in your science classrooms to make sure that your students are engaged 100% of the time!
[…] Punnett Squares […]